Headliner replacement
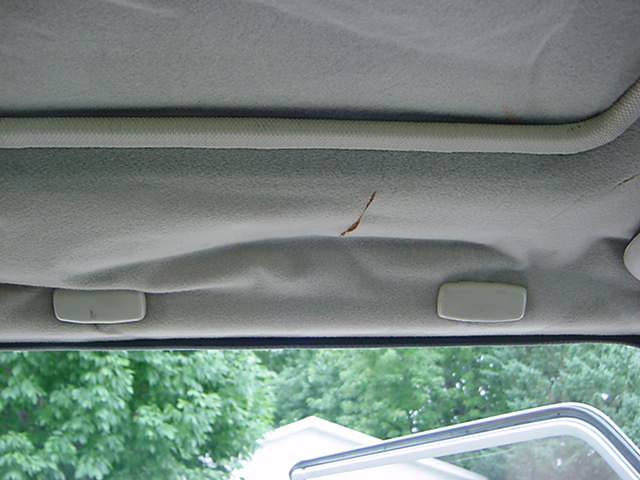
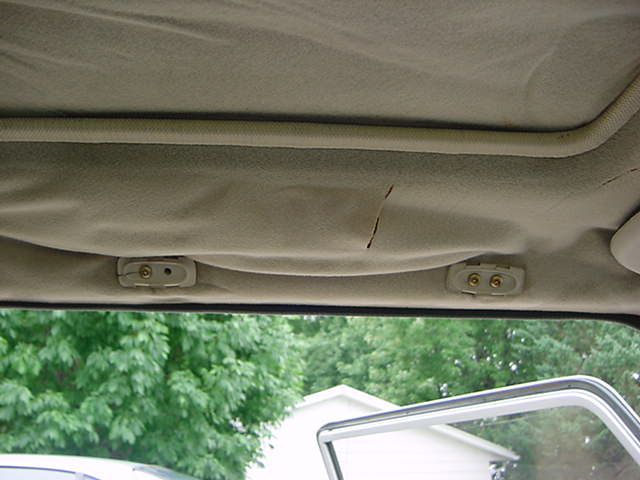
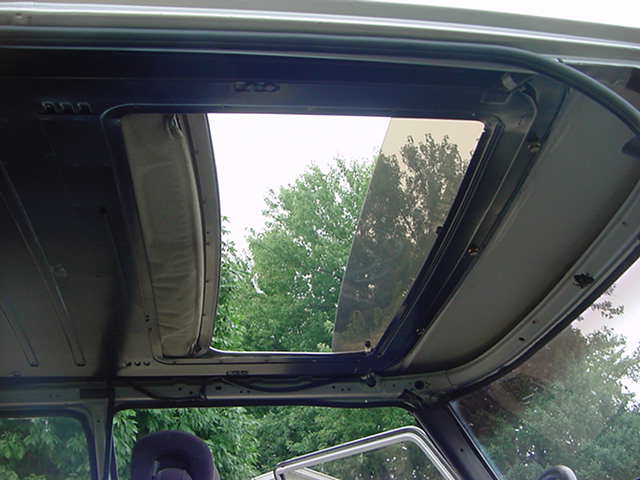
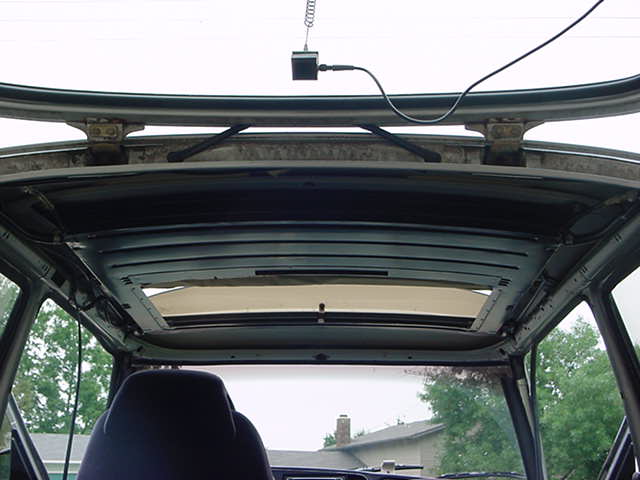
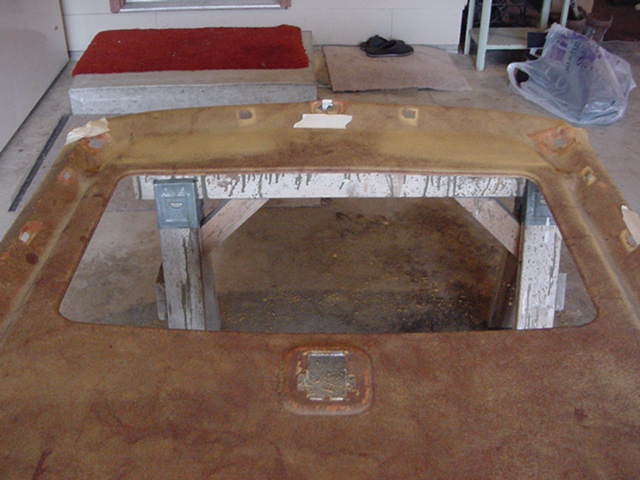
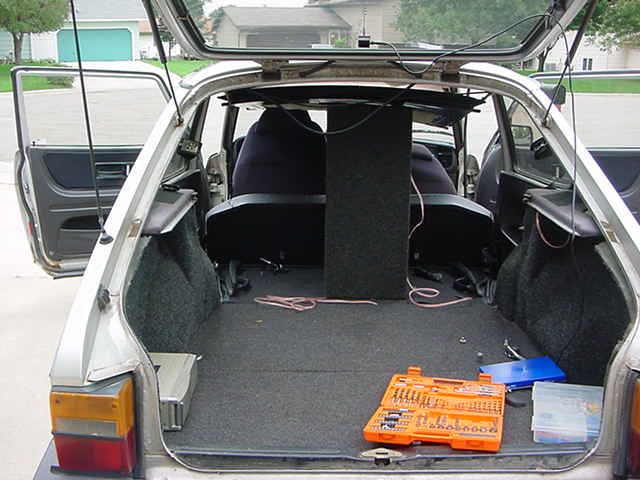
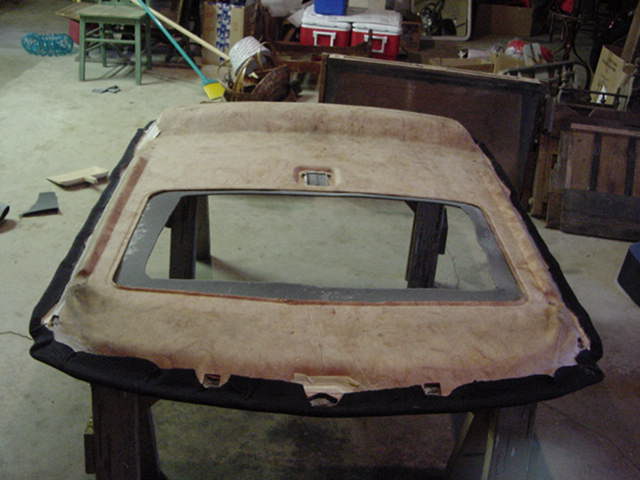
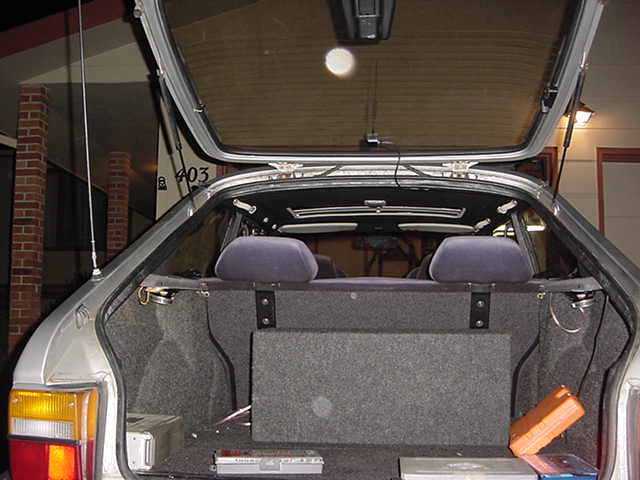
Before
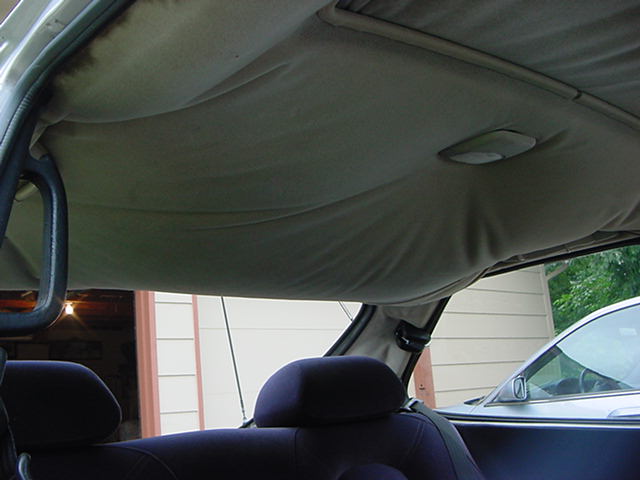
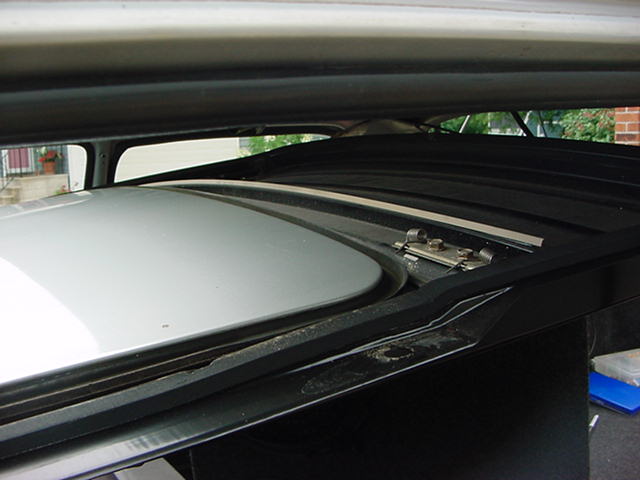
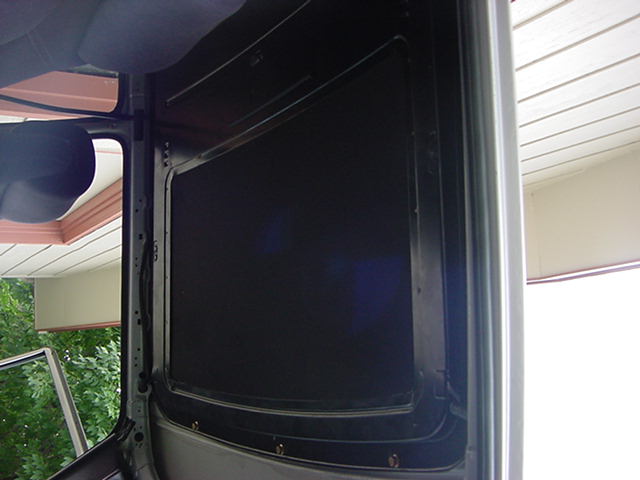
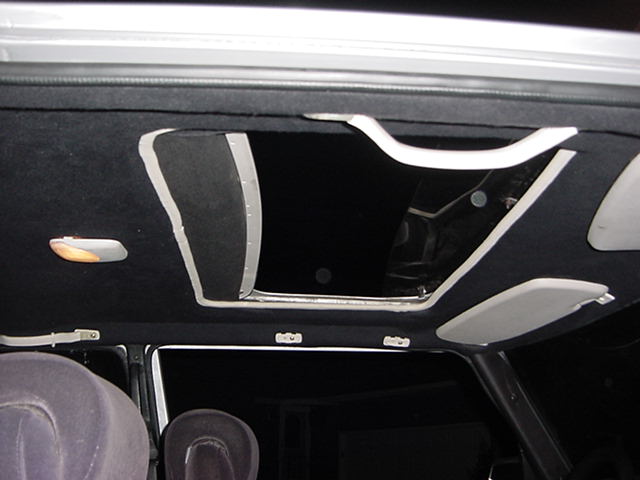
Moonroof thing is looking kinda ratty.
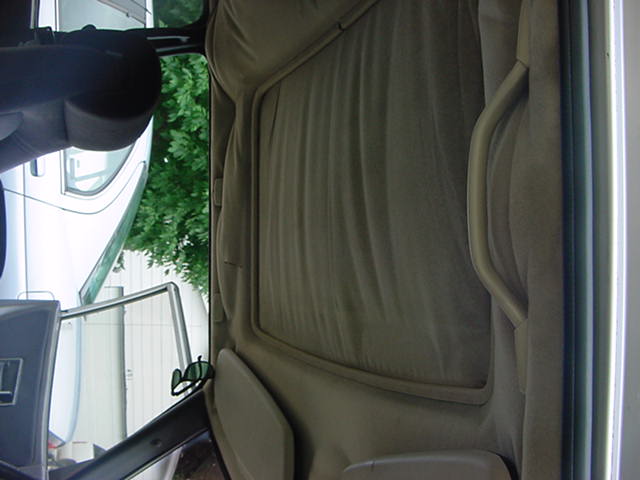
Even the C pillar trim needed to go.
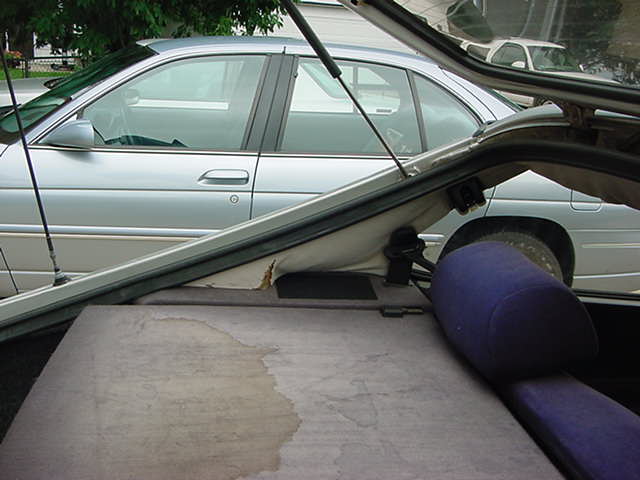
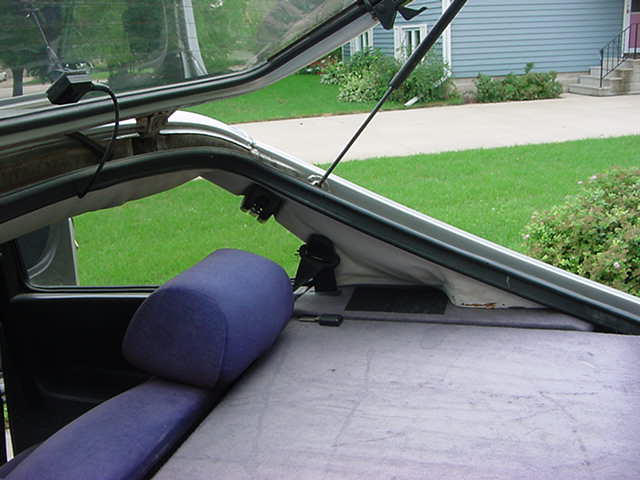
Crap you need to remove to get the shell out
This is where the driver's assist bar would be if anyone but me thought they were a good idea.
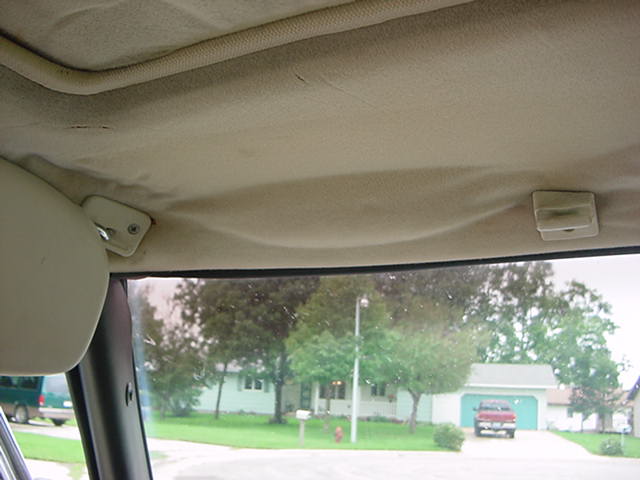
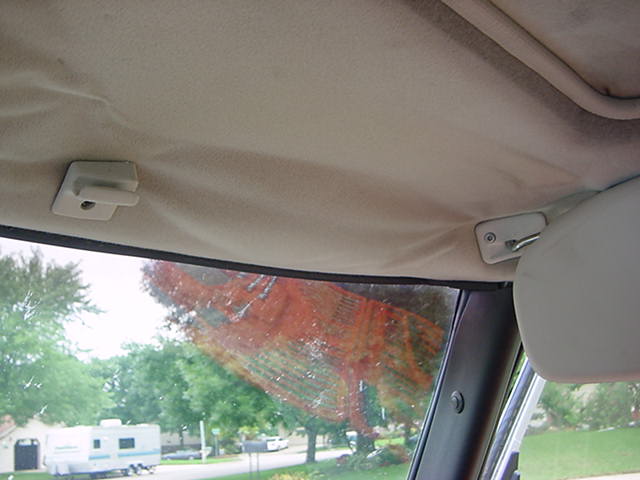
Both visors gotta go.
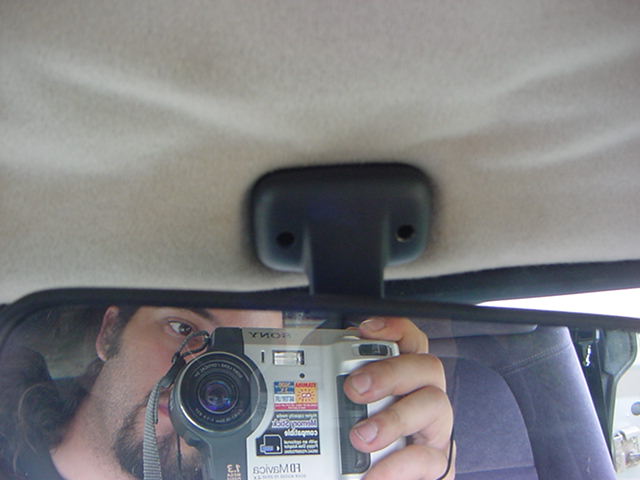
Rearview mirror. Make sure your T20 screwdriver doesn't have a big fat shank that tapers down at the bit.
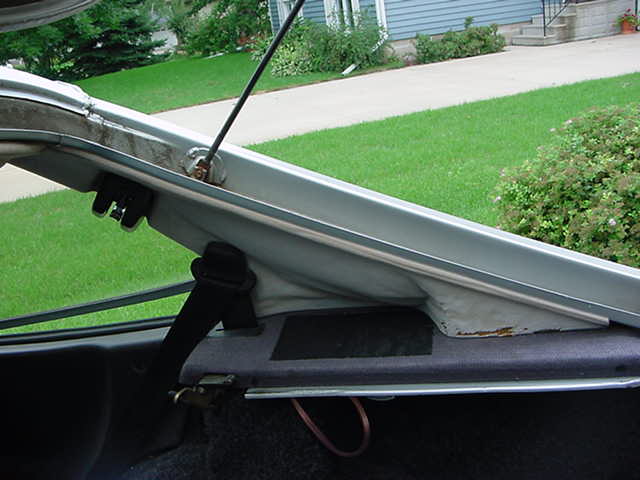

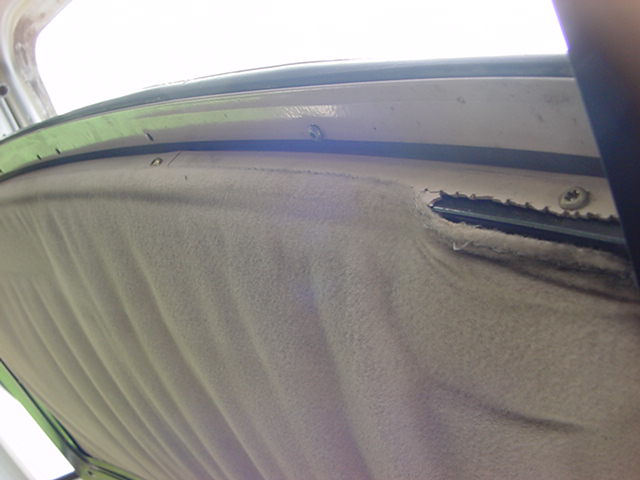
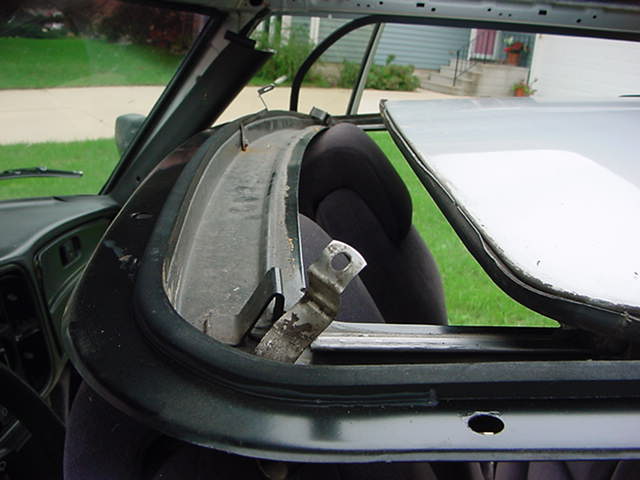
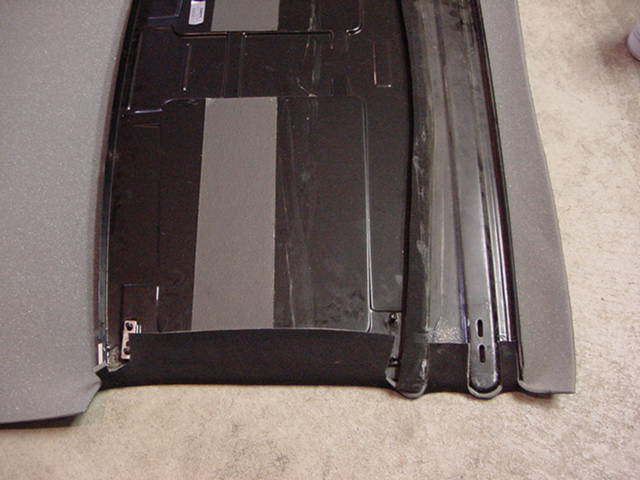
You'll have to unbolt the rear vent window levers and seatbelt pivots (17mm) to get the C pillar covers out.
Not particularly pictured, but also needing removal are the A and B pillar covers, the domelight and the sunroof trim
strip. At some point, it should fall on you, but you may need to encourage it.
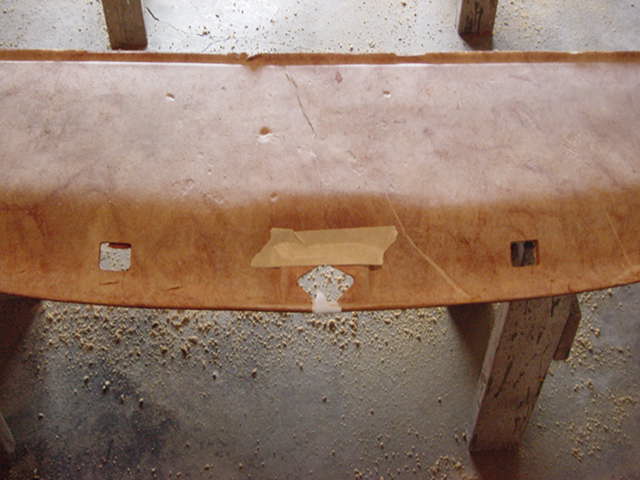
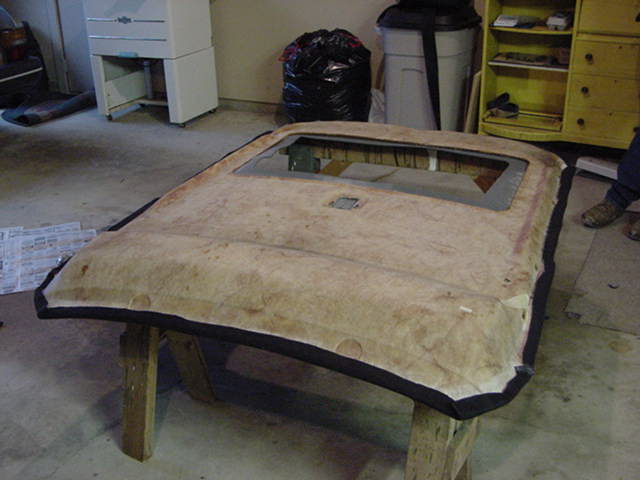
Ok, it fell. Now what?
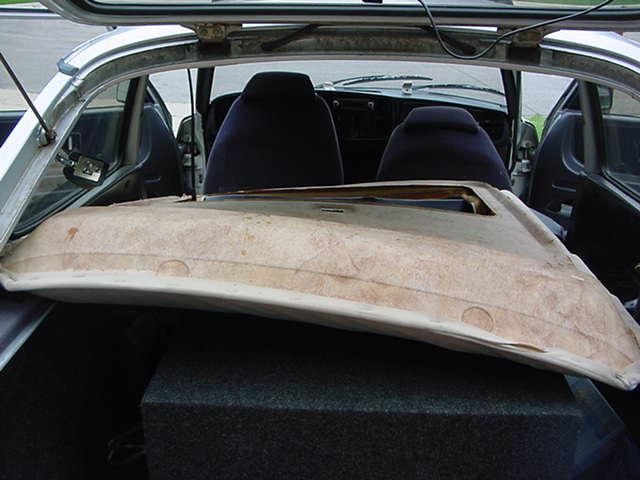
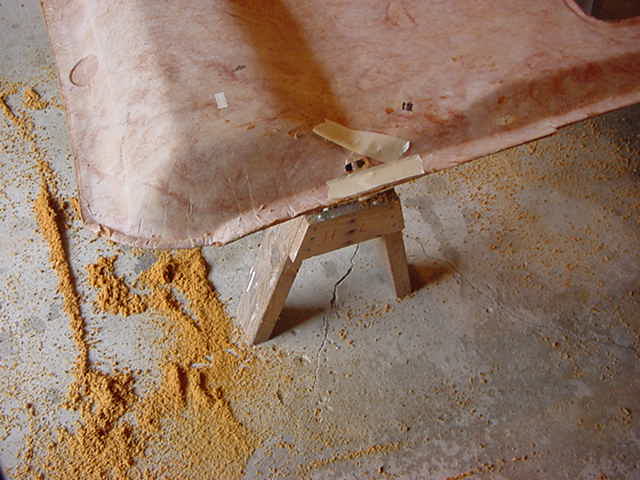
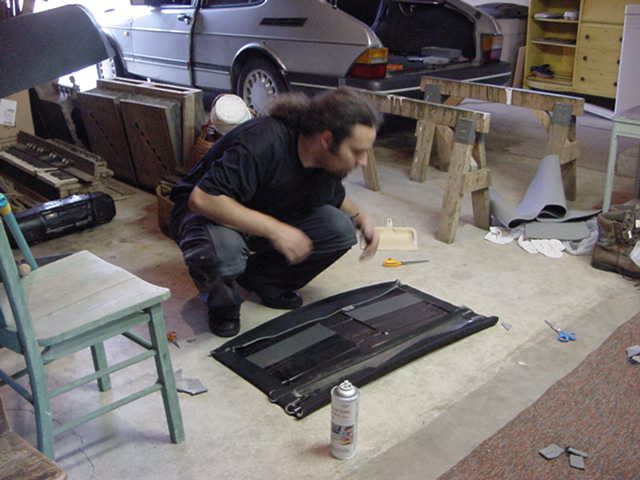
Take some pictures, then drag it out and set it on some sawhorses. Having an assistant at this part is kinda nice, but
not really necessary.
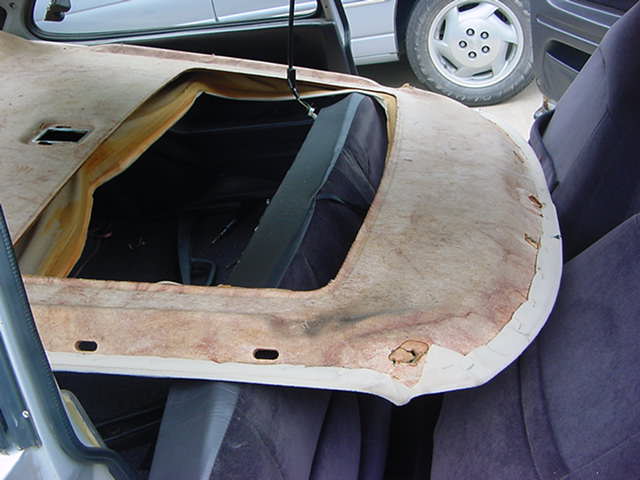
Now the real work
Remove all 5 million staples...
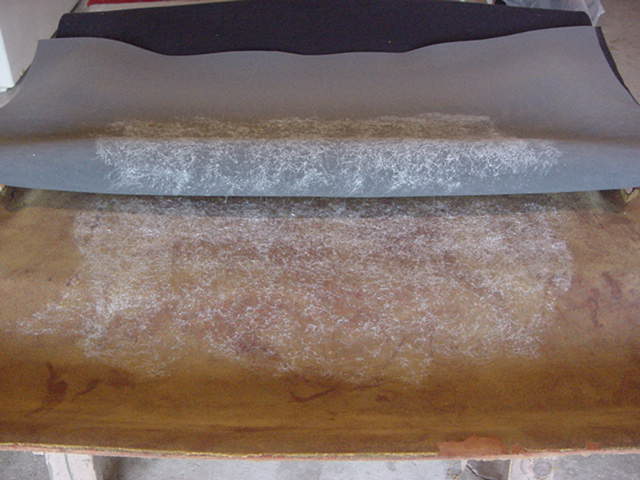
Carefully remove the old cloth.
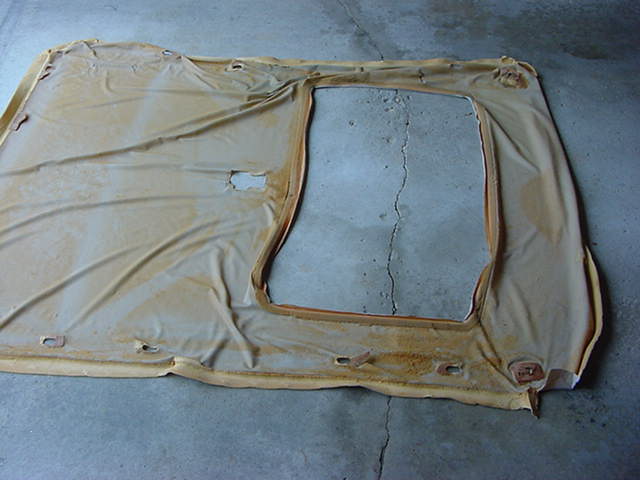
Saving the old cloth because you are way too stupid to ever throw anything away, ever, is optional.
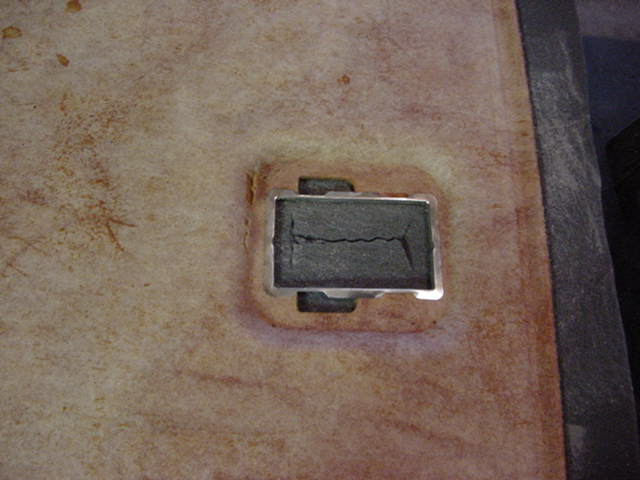
Check out the power moonroof assembly. Maybe scratch your head a few times, and come back to it in a little bit.
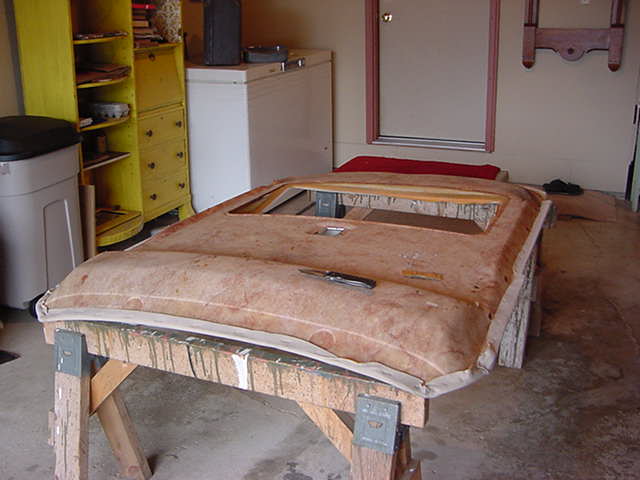
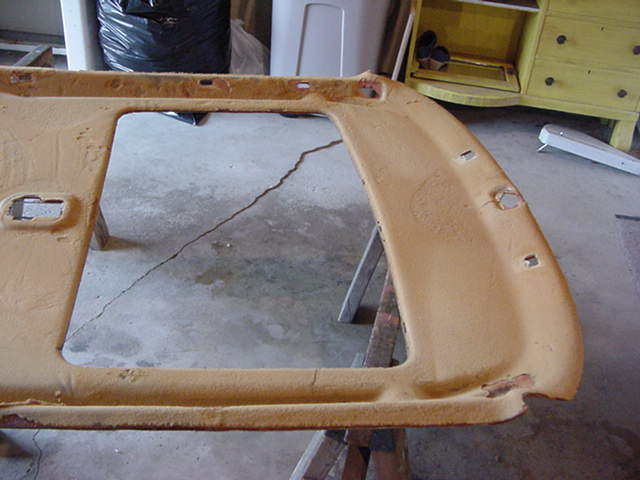
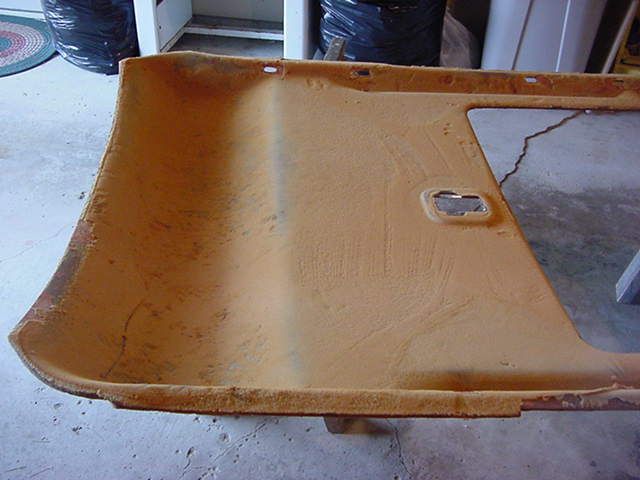
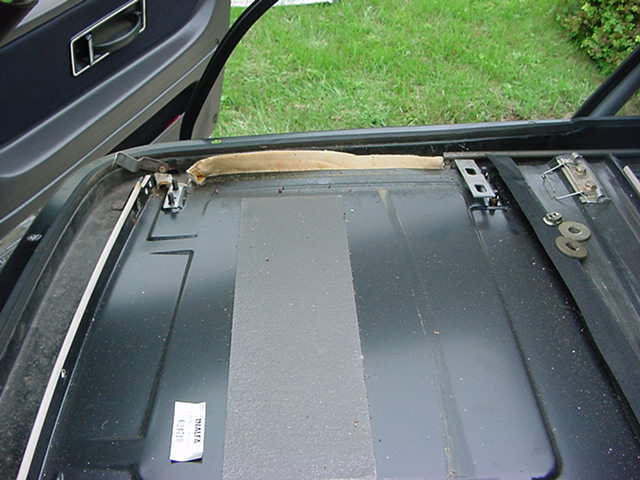
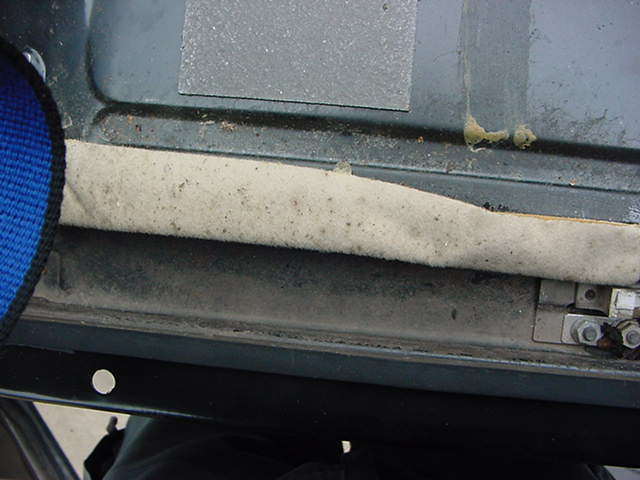
Prep the shell
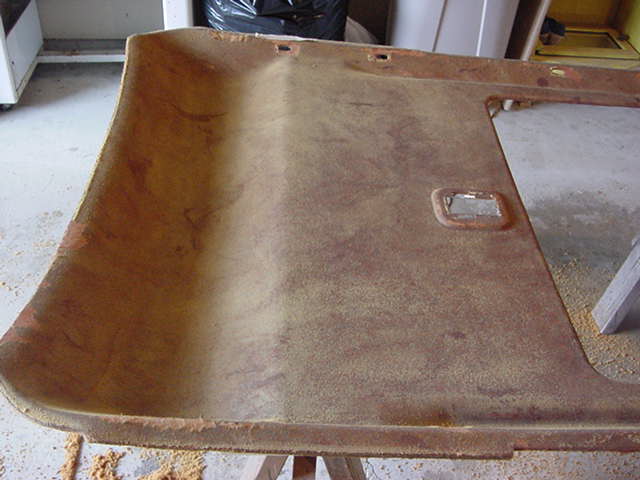
Make a big mess by removing all the old rotted foam. A plastic bristled brush will help this considerably. Also, feel
free to shore up any weak spots with masking tape or whatever you've got handy.
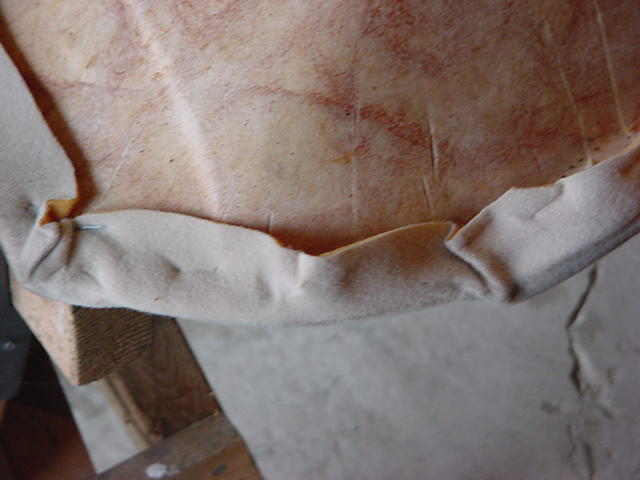
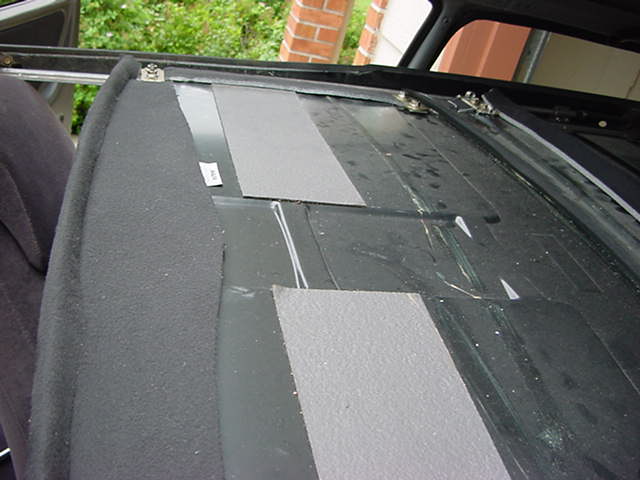
Glue!
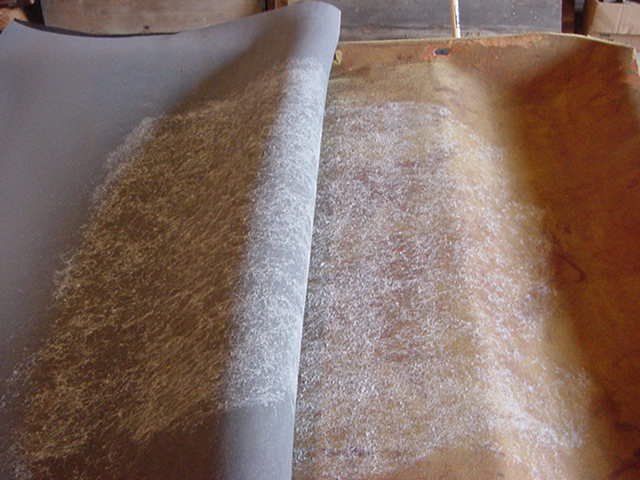
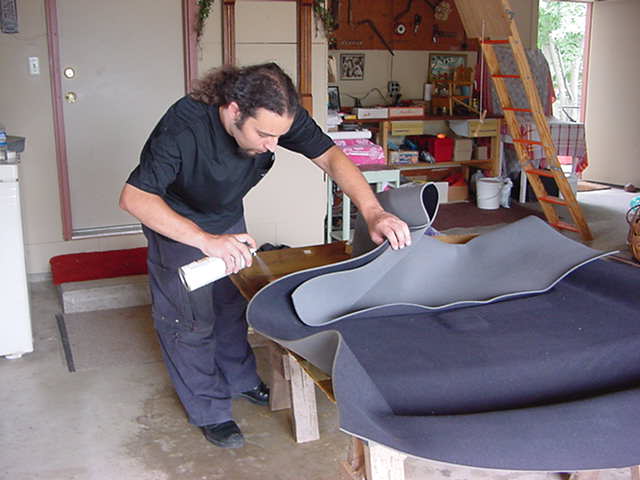
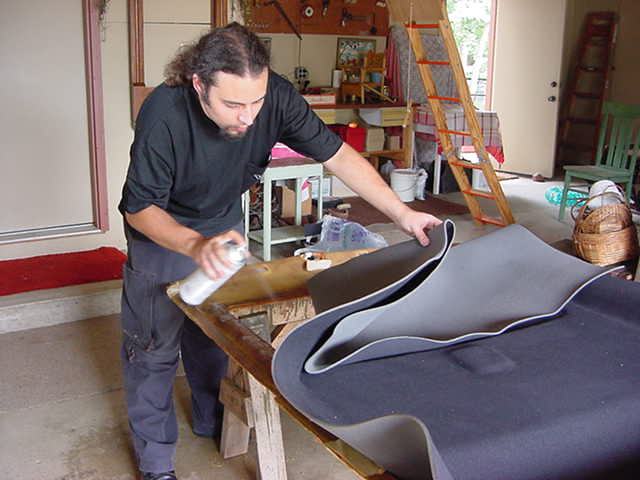
Follow the directions on the can. I used about two cans of 3M 08088. Make sure you've got it straight when you do the
thin parts around the sunroof.
Moonroof revisited
You'll need to remove all the stubby little bolts that hold the moonroof box up. You'll probably want to get the drain
tubes disconnected and out of the way first. I didn't disconnect the actuator cables, so I had to rest the whole thing on
my front seats and my sub box. Once it's down and you can get at it, lift the back end of the top plate and get the
little tabs out from under the spring clips. Then, get the four screws in the front and you can get the top plate
off. To get the bottom plate out, you'll have to remove all the nuts and bolts on the top. Again, losing three of the
four bushings for the actuator brackets is optional.
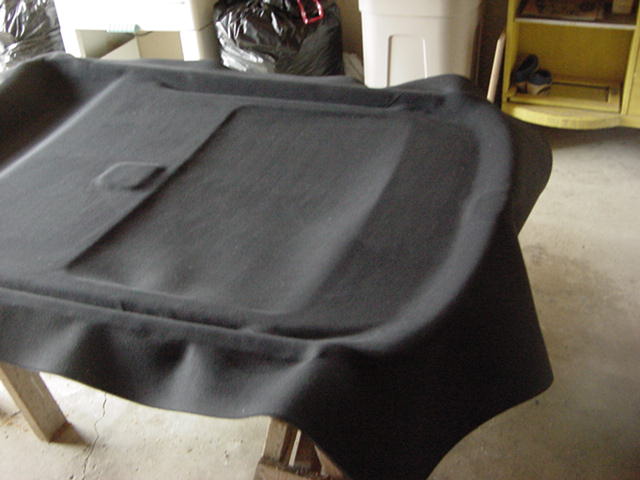
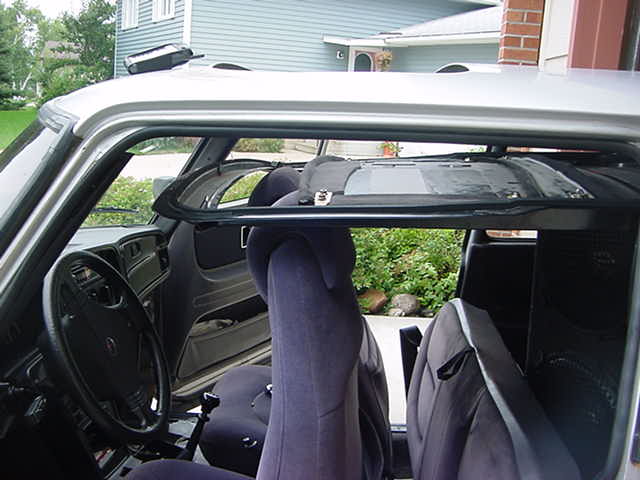
Isn't that new headliner pretty?
The moonroof cloth is held on by plastic strips at the front and back and being folded over and glued on the sides.
First glue one side and let it set good. The stretch it across and glue the other side. Then, stretch a little and glue
the front and back. I just covered over the rubber bumpers and discarded the plastic strips (which were trashed
anyway)
Putting it back together
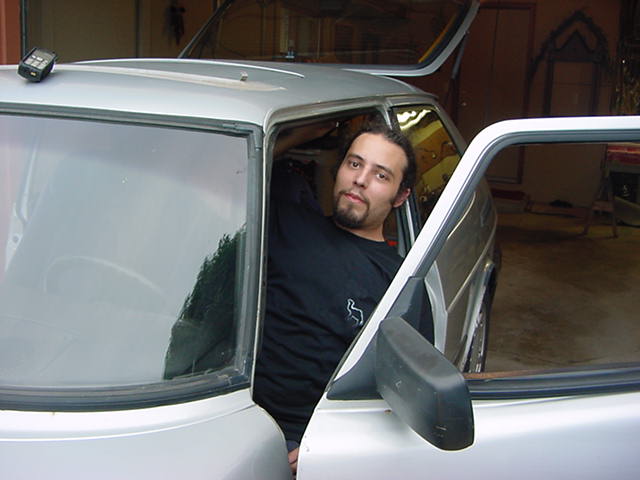
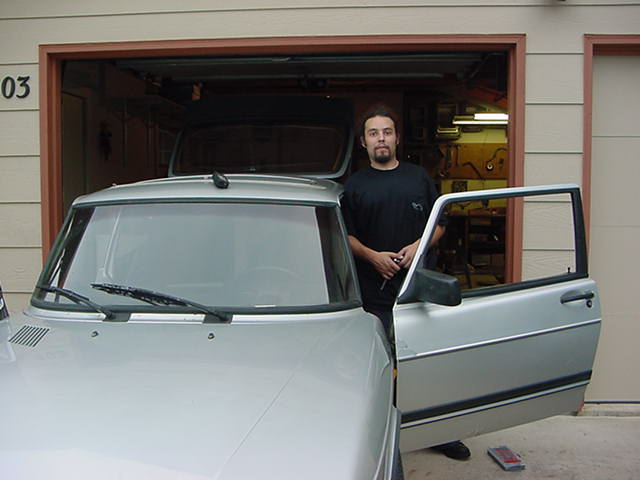
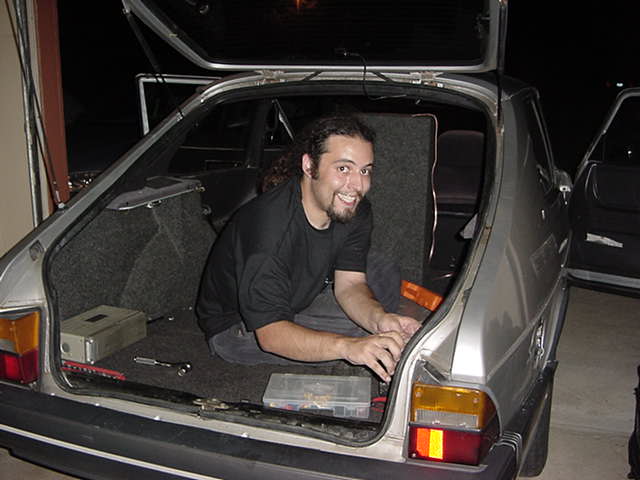
Put it all back the way you found it and bold it up tight. Having your mom take some pictures of your goofy looking self
is optional, but hey, she's letting you use her camera, driveway and garage. Plus, she doesn't see you as much any
more.
Cut openings for everything. Don't cut them very big, you'll do any necessary trimming once it's back in. I just
pushed a knife blade through the smaller openings.
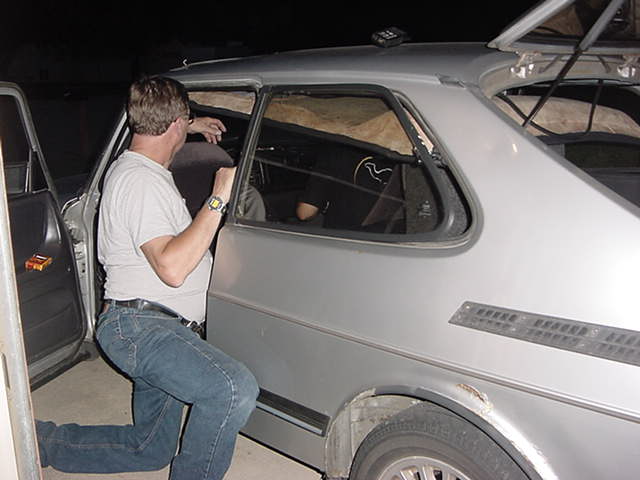
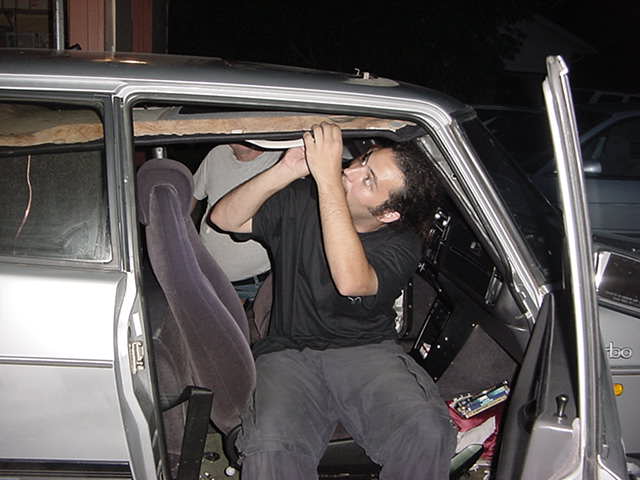
Getting it back up is kinda interesting, but not actually difficult, particularly if your neighbor stops over and gives
you a hand holding it. Again, remember to give your mom a big goofy grin.
After
I think the black with white trim gives a good effect.
All in all, I purchased four yards of 54" wide headliner material and three cans of spray glue (only two cans
used). Total start to finish time was around 10 hours, but there was an hour of driving back for more cloth in there,
supper, about an hour of chit chat with a neighbor and a fruitless trip to the hardware store for bushings. Also, I
wasn't in any particular hurry. You can probably do it in a few hours if you don't drag your feet.
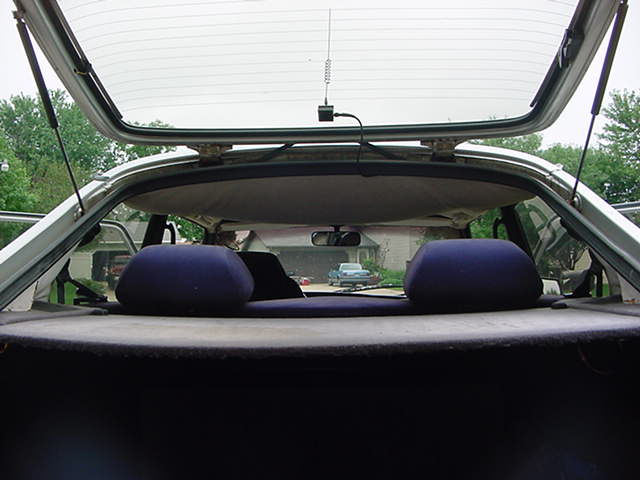
Getting the use of your rearview mirror back is well worth the effort, to say nothing of the aesthetic appeal. Plus, the
chicks dig it.
Headlier material usage:
| 1 yard purchased |
Used to recover door panels (practice) |
Excess used for C pillar linings |
| 2 yards purchased |
Main headliner |
| 1 yard purchased |
Moonroof |
Any questions?
email me